
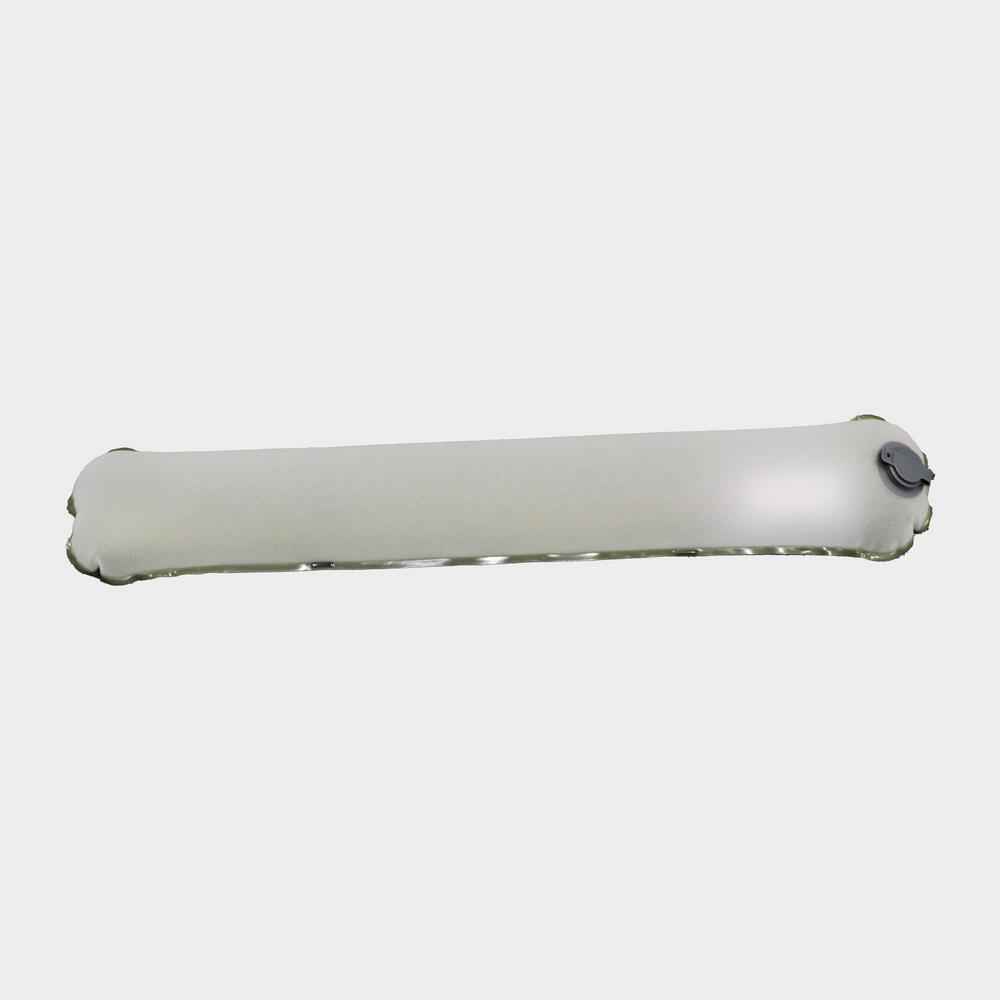
Good lighting can transform a damp, dim tent into a cosy little basecamp. The Vango Lightbeam 200 Recharge is one of a new wave of lightweight, USB-rechargeable strip lights designed to make your evenings under canvas more comfortable and more practical. If you have ever tried to cook, find clothes or read with just a head torch bouncing around, you will know how big a difference a well-placed tent light can make.
Why tent lighting matters more than you think
It is easy to obsess over tents, sleeping bags and stoves, and then chuck any old lantern into the kit bag at the last minute. Yet lighting has a huge impact on how relaxed and organised your camp feels once the sun goes down.
A good tent light helps you:
- Move around safely without tripping over guy lines, toys or tent poles.
- Cook, play games and organise kit without constant shadows.
- Create a calmer, less harsh atmosphere than a bright head torch.
- Use energy-efficient, rechargeable power instead of burning through batteries.
Strip lights such as the Vango Lightbeam 200 Recharge are especially popular in family tents and campervans because they hang neatly from the roof, spread light along the length of the living area and free up table or floor space.
Meet the Vango Lightbeam 200 Recharge
The Vango Lightbeam 200 Recharge is a slim, flexible strip-style tent light with a focus on easy mounting and comfortable light. Rather than being a bulky lantern that needs to sit on a table or swing from a single hook, it runs along the roof of the tent to give a more even glow.
According to Vango’s own information, it offers a run time of roughly 3–30 hours depending on brightness setting, and it recharges via USB-C in around two and a half hours. That makes it a sensible match for weekend camping and longer trips when paired with a power bank.
If you want a deep dive into how it performs in real UK conditions, you can always read our full review of the Vango Lightbeam 200 Recharge. Here we will focus on how to get the best from this type of light and whether it fits the kind of camping you do.
Key features explained in plain English
USB-C charging: quick top-ups from modern power banks
The Lightbeam 200 Recharge uses USB-C, which is rapidly becoming the standard across phones, tablets, power banks and other gadgets. The quoted charge time is around 2.5 hours, so you can plug it into a power bank during the day or while you are driving and have it ready for the evening.
For campers who already carry a power bank for phones or watches, this keeps your kit simple: one cable, multiple devices. It also means you can avoid hunting for odd-sized batteries in a petrol station halfway through a trip.
Magnetic attachment points: quick and flexible mounting
Two magnetic attachment points make it easy to mount the Lightbeam 200 along metal surfaces or compatible fixtures. In a campervan, that might mean clipping it to a metal rib or a magnetic plate. In some tents, it can pair with metal rings or accessories that accept magnets.
The big advantage is speed: you can move the light between living area and bedroom, or inside and outside a shelter, with very little faff. If you reconfigure your camp often, that flexibility is surprisingly useful.
Elastic webbing points and Sky Track compatibility
Vango’s own tents often include a Sky Track system – a rail running along the roof that takes little sliding hooks. The Lightbeam 200’s elastic webbing points are designed to work seamlessly with that, letting you suspend the light exactly where you want it and keep cables tidy.
Even if your tent does not have Sky Track, elastic webbing makes it easy to lash the strip to roof loops, poles or a gear loft. You are not restricted to a single central hook, which helps when you want light down one side of a tunnel tent or over a kitchen area.
Dimmable warm and white light options
Perhaps the most important comfort feature is the choice of dimmable warm and white light. Cool white light often feels brighter and is better for cooking or sorting gear, while warm white feels gentler and more homely – ideal for winding down, especially if children are trying to sleep.
Dimming not only extends the quoted 3–30 hour run time, it also makes the tent feel more like a small living room and less like a stark workspace. Many campers find they use a higher setting for half an hour when they are getting sorted, then drop to a low warm glow for the rest of the evening.
Compact footprint
With approximate dimensions of 60 cm in length and 12 cm in height, the Lightbeam 200 takes up very little room in a gear bag. It works particularly well in smaller family tents, compact weekend tents and campervans where space is at a premium.
Who the Vango Lightbeam 200 Recharge suits best
Not every light works for every style of camping. The Lightbeam 200 Recharge has a few clear sweet spots:
- Vango tent owners: If your tent has Sky Track, this is a neat plug-and-play solution with minimal rigging needed.
- Family campers: The even spread of light makes shared spaces friendlier for board games, reading and getting kids ready for bed.
- Campervan and car campers: Magnetic attachment and USB-C charging fit perfectly with 12 V set-ups and power banks.
- Weekend and festival campers: A quick charge and long low-power runtime mean you can keep things simple.
If this sounds like you, it is worth taking a closer look and reading our full review of the Vango Lightbeam 200 Recharge for hands-on impressions.
How to choose the right camping light for your set-up
Whether you are considering the Lightbeam 200 Recharge or another model, there are a few key decisions that make a big difference to how happy you will be at night.
1. Decide how you want to mount your light
Start with where the light will actually live:
- Strip and bar lights (like the Lightbeam 200) are best for hanging from rails or loops along the tent roof.
- Lanterns suit central hanging points or tabletop use.
- Head torches are great for individual use but poor for making a whole tent feel welcoming.
If your tent has a ceiling rail or multiple loops, a strip light that runs along the top will give the most even coverage. If it only has a single hook, you may lean towards a lantern-style light instead.
2. Think about power: rechargeable vs batteries
Rechargeable lights are excellent for regular campers, especially when paired with a mid-sized power bank. They are cheaper over time, greener and easier to keep topped up on the road.
Battery-powered lights still have a place if you camp very occasionally, or if you are going somewhere cold and remote for several days with no way to recharge. Many experienced campers carry at least one back-up light that runs on common AA or AAA batteries, just in case.
3. Consider brightness and beam type
For a general living area, you do not need blistering brightness – it is more about spread and softness. Around 150–200 lumens of diffused light is usually more than enough in a typical family tent.
Dimmable brightness is one of the most useful features you can look for. It lets you save power when you only need a night light, but still have punch when you are cooking or sorting bags after dark.
4. Choose your colour temperature
If you spend most of your evenings reading and cooking, a cooler white setting can make things feel sharper and more practical. For social, family or festival camping, a warm white glow is far more relaxing.
Models that offer both, like the Lightbeam 200, give you the best of both worlds. You can have a bright white light early on, then switch to a warm, dim setting to wind down.
Getting the best from the Vango Lightbeam 200 Recharge
Once you have your light, a few small habits will help you get the most from it on every trip.
Plan your power strategy
Before you leave home, fully charge the Lightbeam 200 and any power banks you are taking. Estimate how long you will actually have it switched on each evening and in which brightness mode. For many campers, a couple of hours on medium and then a few hours on low is realistic.
If you are camping more than two or three nights, consider a higher-capacity power bank or a vehicle charger so you are not caught out on the last evening.
Position it thoughtfully inside the tent
Run the strip along the main living area rather than directly above sleeping heads if possible. This helps avoid light shining into people’s eyes when they are lying down. Use the elastic webbing and magnets to take advantage of any existing loops, pole sleeves or rails.
Try a few different positions on your first night to see where you get the best balance of coverage and comfort. One of the benefits of a flexible strip light is that it is easy to tweak the layout.
Use dimming to save your night vision
At full brightness any light can feel a bit stark in a dark tent. Once you have finished cooking or organising, drop down to a comfortable low setting. This preserves battery life and makes moving outside to stargaze or head to the loo block less jarring on your eyes.
Care and storage between trips
After a trip, give the light a quick wipe with a soft, dry cloth to remove condensation marks, mud or grease. Let it air-dry in a warm, indoor space before storing it to prevent any trapped damp causing issues.
Store the Lightbeam 200 loosely coiled rather than tightly kinked, and keep the cable with it so you are not hunting for the right lead next time you pack. If you will not use it for several months, a partial top-up charge every so often can help keep the internal battery healthier.
Comparing the Vango Lightbeam 200 with other options
The camping lighting market is crowded with compact lanterns, fairy-light style strings and head torches. The Vango Lightbeam 200 Recharge sits in the middle as a neat, structured strip that favours even illumination and tidy mounting over being ultra-compact or ultra-bright.
When you compare it to more traditional bulb-style lanterns, the main differences to keep in mind are:
- Spread of light: A strip gives a “curtain” of light along its length, which can feel more natural in long tunnel tents than a single point source.
- Space usage: Hanging strips free up tables and floor space, which is ideal in smaller living areas.
- Attachment options: Magnets and elastic loops provide more mounting points than one carabiner on a lantern.
If you prefer a light that doubles as a torch, or you mostly wild camp in small backpacking tents, a compact lantern or powerful head torch may fit your style better. For family, festival and car-based camping, strip lights like the Lightbeam 200 can make the tent feel much more like a little cabin.
Is the Vango Lightbeam 200 Recharge right for you?
Choosing tent lighting is about matching the light’s strengths to your camping style. The Vango Lightbeam 200 Recharge leans towards comfort, flexibility and neat integration with modern tents and campervans, rather than brute-force brightness or ultra-minimal weight.
If you mainly camp with Vango tents, enjoy family or social trips where the living space matters, and already travel with USB-C power banks, it is likely to fit very neatly into your set-up. To see how it copes with real-world British weather, condensation and clumsy kids, head over and read our in-depth review of the Vango Lightbeam 200 Recharge before you buy. It is a small piece of gear that can make a big difference to how your evenings at camp feel.